
Table of Contents
- What You’ll Need Before You Fix Your Tennis Serve
- Common Tennis Serve Mistakes (And How to Diagnose Yours)
- Step-by-Step: Fix Your Tennis Serve Mechanics
- How to Increase Tennis Serve Power Without Losing Control
- Tennis Serve Consistency Drills That Actually Fix the Problem
- Troubleshooting Kick Serve and Slice Serve Errors
- Mental Routine and Pre-Serve Rituals That Reduce Double Faults
- Conclusion
Last Updated: August 11, 2026
What You’ll Need Before You Fix Your Tennis Serve
Learning how to fix your tennis serve starts before you step on the court. The right preparation separates players who make lasting improvements from those who repeat the same faults for years.
Here’s what to have ready:
- A racket strung at your standard tension, don’t troubleshoot mechanics with a freshly restrung or dead-string racket.
- Three to six balls for short repetitive drills.
- A smartphone or tablet mounted at tripod height, positioned behind you and to the side for self-diagnosis.
- Comfortable, court-appropriate footwear, ankle stability affects your leg drive and stance mechanics.
- A notebook or phone note to log observations from each session.
Flexibility matters too. Shoulder internal rotation, thoracic mobility, and hip flexor length all constrain your coil and pronation. Spend five to ten minutes on dynamic warm-up before any serve session.
Before every serve session, do ten slow arm circles, ten thoracic rotations, and a 30-second hip flexor stretch per side. Players who skip this warm-up show tighter coil and reduced racket head speed in video analysis.
Common Tennis Serve Mistakes (And How to Diagnose Yours)
Most players trying to fix their tennis serve chase the wrong problem. They obsess over racket head speed when the real fault is in the ball toss. Identifying your specific error first saves weeks of wasted practice.
The most common serve errors:
| Mistake | Symptom | Root Cause |
|---|---|---|
| Inconsistent ball toss | Serve lands long or in the net unpredictably | Toss arm releases too early or too late |
| Flat elbow at trophy position | Loss of power, shoulder strain | Incomplete coil, arm not reaching full extension |
| No leg drive | Serve floats, lacks pace | Knees barely bend, no upward push through contact |
| Early pronation | Ball sprays wide | Wrist rolls over before contact point |
| Grip too closed | Can’t generate spin, arm tires quickly | Eastern or semi-western grip instead of continental |
| Short swing path | Weak, low-trajectory serve | Racket drops too shallow, no upward acceleration |
Self-Diagnosis via Video Analysis
Set your phone to slow-motion mode (120fps or higher) and record from two angles: directly behind you along the baseline, and from the side at net height.
What to look for:
- From behind: Watch your ball toss. Does it drift left, right, or behind your head? A toss that lands behind the baseline indicates you’re tossing too far back.
- From the side: Check your trophy position. Is your racket arm fully extended upward with elbow at or above shoulder height?
- Both angles: Track your contact point. Are you reaching up and forward, or hitting the ball as it drops?
Watch your footage three times, once for each of: grip and toss, trophy position and coil, and contact point and follow-through. Don’t try to fix everything at once.
Trying to fix three serve problems simultaneously almost always makes things worse. Isolate one mechanical fault per practice block. Players who attempt wholesale overhauls typically see their serve consistency drop before it improves.
Step-by-Step: Fix Your Tennis Serve Mechanics
Fixing your tennis serve mechanics requires working through the kinetic chain in order, from grip to follow-through. Work through each stage sequentially, spending at least two practice sessions on each before moving forward.
Step 1: Build the Continental Grip
The continental grip is the foundation of every effective serve. Without it, pronation is impossible and spin generation is crippled.
To find the continental grip: hold your racket like a hammer. The base knuckle of your index finger sits on bevel two (the top-left bevel if the racket head faces you).
Drill: Hold the continental grip and bounce the ball off the court using only the racket edge. If you can do this cleanly, your grip is correct.
Step 2: Master the Ball Toss
The ball toss is the single most correctable serve fault. A consistent toss is not about throwing the ball, it’s about lifting it.
Place the ball in your fingertips, not your palm. Extend your toss arm fully upward, releasing the ball at the top of your reach. The ideal contact point sits roughly one racket length above your extended reach, slightly forward of your front foot.
Self-check: toss the ball and let it drop without hitting it. It should land 12-18 inches inside the baseline, slightly to the right of your front foot (for right-handers).
Step 3: Knee Bend, Leg Drive, and the Trophy Position
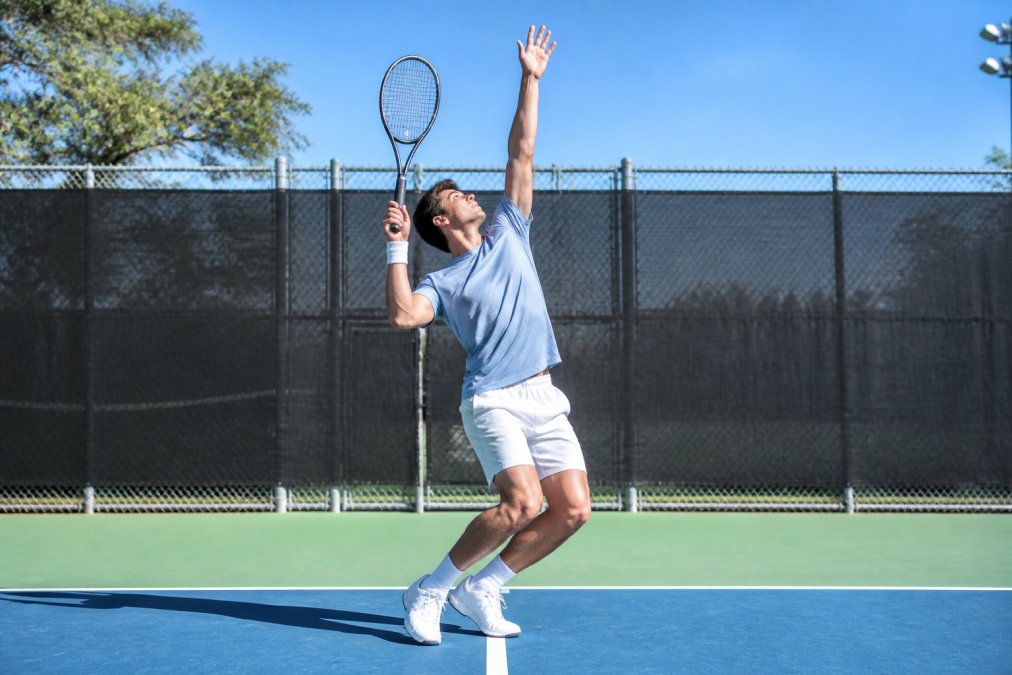
Knee bend and leg drive are where recreational players leave the most power on the table. The trophy position is the checkpoint: your weight is loaded into bent knees, your toss arm is extended upward, and your racket arm is bent with the elbow at shoulder height.
From the trophy position, the serve is driven upward, not forward. Think of jumping into the ball.
Drill: Practice the trophy position as a static hold for five seconds before each serve attempt.
Step 4: Body Coil, Shoulder Rotation, and Racket Drop
The coil separates a a serve from another. As you move from the trophy position into the swing, your hitting shoulder drops and rotates behind your body while your non-dominant shoulder points at the target. This creates elastic tension across your torso.
The racket drop follows naturally from a correct coil: the racket falls behind your back (the "back-scratch position") before accelerating upward. Players who skip the coil try to generate power entirely with their arm, which is both inefficient and hard on the shoulder.
Shoulder rotation and racket drop should feel like a single connected movement.
Step 5: Pronation, the Whip Effect, and Follow-Through
Pronation is the internal rotation of the forearm that snaps the racket face through the ball at contact. This generates both pace and spin.
The most common error is pronating too early, which means the racket face opens before contact and the ball sprays wide or long. Pronation should happen at and just after the contact point.
The follow-through completes the kinetic chain. Your racket finishes across your body to the opposite hip. Relax your grip pressure through the swing and let the racket complete its arc naturally.
How to Increase Tennis Serve Power Without Losing Control
More power without control is just a faster fault. Racket head speed comes from the kinetic chain working in sequence: leg drive transfers energy upward through the hips, through the torso coil, through shoulder rotation, through forearm pronation.
Three specific changes that increase power without sacrificing accuracy:
- Extend your ball toss slightly forward, a toss too close to your body shortens your swing arc.
- Increase knee bend depth, deeper knee bend means more leg drive.
- Delay your shoulder rotation, many players rotate too early, bleeding power before the racket reaches the ball.
Platform Stance vs. Pinpoint Stance: Which Generates More Power?
Platform stance: Feet stay roughly shoulder-width apart throughout the serve. Offers more stability and is generally easier to learn.
Pinpoint stance: The back foot slides up to meet the front foot as the serve motion begins, concentrating power into a smaller base before the upward push.
Neither stance is universally superior. Taller players with long levers often generate more power from the platform stance. Players with explosive lower-body strength frequently prefer pinpoint. If you’re currently double-faulting regularly, start with the platform stance for consistency, then experiment with pinpoint once your toss and trophy position are reliable.
Tennis Serve Consistency Drills That Actually Fix the Problem
Consistency on the serve comes from repetition of correct mechanics, not from hitting hundreds of balls with faulty technique.
Drill 1: The Toss-and-Catch Drill
Toss the ball using your full serving motion and catch it without hitting. Repeat 20 times. The ball should land in the same spot every time.
Drill 2: The Trophy Freeze Drill
Serve in slow motion, pausing for three full seconds at the trophy position before continuing. This builds proprioceptive awareness of correct loading.
Drill 3: The Target Box Drill
Place a ball can or cone in the service box. Serve 20 balls aiming at the target. Track how many land within one meter.
Drill 4: The Second Serve Focus Block
Dedicate entire practice sessions to second serves only. Second serve consistency under pressure is what eliminates double faults in match play.
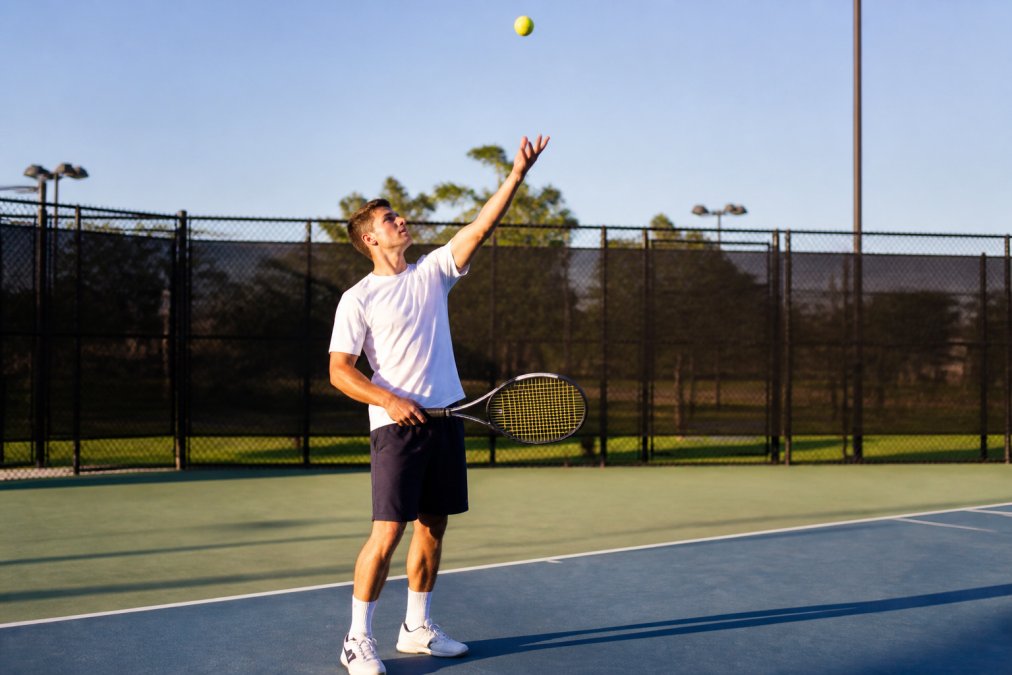
The drill that produces the fastest improvement for most players is the Toss-and-Catch Drill. Twenty clean, consistent tosses before every session resets your muscle memory and eliminates the single most common cause of double faults.
Troubleshooting Kick Serve and Slice Serve Errors
The kick serve and slice serve require distinct adjustments beyond the flat serve mechanics.
Kick Serve Problems
The kick serve generates topspin by brushing up and across the ball at contact, using a ball toss positioned slightly behind the head. Common errors:
- Ball lands flat or in the net: Toss is too far forward. Move it back until it sits above or slightly behind your head.
- No kick on the bounce: Pronation is happening too early. Focus on brushing upward through the ball before pronating.
- Shoulder pain: Incomplete coil is forcing the arm to compensate. Return to the body coil drills before continuing kick serve work.
The slice serve curves away from a right-handed receiver by brushing the outside edge of the ball. Common errors:
- Ball curves too much and lands wide: Swing path is too far around the ball. Aim to brush 2 o’clock on the ball face rather than 3 o’clock.
- Slice has no curve: Grip has shifted away from continental. Check your grip before every serve attempt.
- Serve lands short: Follow-through is being cut short. Let the racket complete its full arc.
Spin serves require players to develop a reliable flat serve foundation first. Attempting kick or slice mechanics before the basic kinetic chain is consistent typically amplifies existing faults.
Mental Routine and Pre-Serve Rituals That Reduce Double Faults
Double faults are rarely purely mechanical. The physical errors that produce them are often triggered by mental pressure.
A pre-serve ritual is the single most underrated tool for serve consistency. Build your ritual around three elements:
- A physical reset, bounce the ball a set number of times (typically three to five) before each serve. This slows your breathing and reduces muscle tension.
- A target commitment, before you toss, decide exactly where the serve is going. T, body, or wide. Serve indecision causes double faults in competitive play.
- A process cue, one internal technical focus word ("up," "toss," "coil") that directs attention to mechanics rather than outcome.
Structured pre-serve rituals reduce double fault rates in match play compared to unstructured approaches.
After a first-serve fault, deliberately slow your walk back to the baseline. Take one extra ball bounce before the second serve. This physical deceleration counteracts the adrenaline spike that causes players to rush their second serve and double fault.
Fixing a broken serve is one of the most rewarding improvements a competitive tennis player can make. The kinetic chain from grip to follow-through has to work as a connected system, and identifying where your specific chain breaks requires honest self-diagnosis before any drilling begins. Crunch Time Coaching’s step-by-step daily lesson format is built precisely for this: structured progression through serve mechanics, video-based feedback, and mental toughness training that turns technical improvements into match results. Reserve Your Spot Today and start rebuilding your serve from the ground up.
Frequently Asked Questions
What causes a fault on a tennis serve?
Most faults trace back to one of three errors: a ball toss that drifts too far left or right, disrupting the swing path; a grip that is too close to an Eastern forehand, causing the racket face to open at contact; or a rushed motion that skips the coil and leg drive phase. When the kinetic chain breaks at any point, the contact point shifts and the ball lands outside the service box. Fixing the toss position alone eliminates a large percentage of recurring faults.
Why is my serve so inconsistent?
Inconsistency almost always comes from an unreliable ball toss combined with poor rhythm and timing. If the toss changes location by even a few inches, your contact point shifts and the swing path produces a different result every time. A secondary cause is gripping too tightly, which kills racket head speed and forces you to muscle the ball rather than letting pronation generate natural acceleration. Fixing the toss first, then working on relaxed grip pressure, produces the fastest consistency gains.
What are the most common tennis serve mistakes?
The most common tennis serve mistakes are: using the wrong grip (anything other than continental), tossing the ball too far behind the head or too far in front, skipping knee bend and leg drive so the kinetic chain never activates, failing to reach the trophy position before swinging, and not pronating through contact. Each mistake compounds the others. A player who corrects the continental grip first will often find that the toss, swing path, and pronation errors become easier to fix in sequence.
How can I increase power on my tennis serve?
Serve power comes from the kinetic chain, not arm strength alone. Knee bend and an explosive vertical jump load energy from the ground up. Body coil and shoulder rotation transfer that energy through the torso. A full racket drop followed by fast pronation and the whip effect at contact converts it into racket head speed. Trying to muscle more power with just the arm usually produces tighter muscles and slower swing speed. Work on leg drive and relaxed acceleration instead, and power follows.
This article was written using GrandRanker